ROCK at Home
One of the privileges of working at my company is coming into contact with network security teams building “fly-away kits” for network security monitoring (NSM). The use case has been one of the more difficult domains to learn in my career. Despite being a full-stack engineer, security engineering is steeped in data acquisition and interpretation from hosts, networks, and other more obscure data sources. Obscure I can handle, but the domain knowledge and surrounding the security world has been a long road.
Inspired by some recent interaction with cyber teams in the Elastic community I set off to do more and get some more hands-on exposure to these data sources. The first step is to do something called “Rocking at Home.” A fantastic starting point for network security monitoring is an open source project called ROCK NSM which bundles and deploys tools like Zeek/Bro, Suricata, and the Elastic stack as a Linux ISO meant to allow rapid deployment as a network sensor for threat hunting or acting as a “flight data recorder” to provide a better source of truth on what’s really happening on a network.
My setup
Following an excellent set of videos from the ROCK NSM project on youtube: videos I purchased some extra hardware to start a home lab isolated from my main network through a very basic gigabit network tap.
I purchased:
- The tap: Dualcomm 10/100/1000Base-T Gigabit Ethernet Network TAP
- A dual-NIC small scale computer kit: Intel NUC 8 Performance-G Kit (NUC8i7HVK)
- A M.2 NVMe drive: Samsung 970 PRO 512GB - NVMe PCIe M.2 2280 SSD (MZ-V7P512BW)
- A bunch of RAM to help me play with multiple tools at once - HyperX Kingston Technology Impact 32GB Kit (2x16GB) 2400MHz DDR4 CL14 260-Pin SODIMM Laptop HX424S14IBK2/32
To set this up:
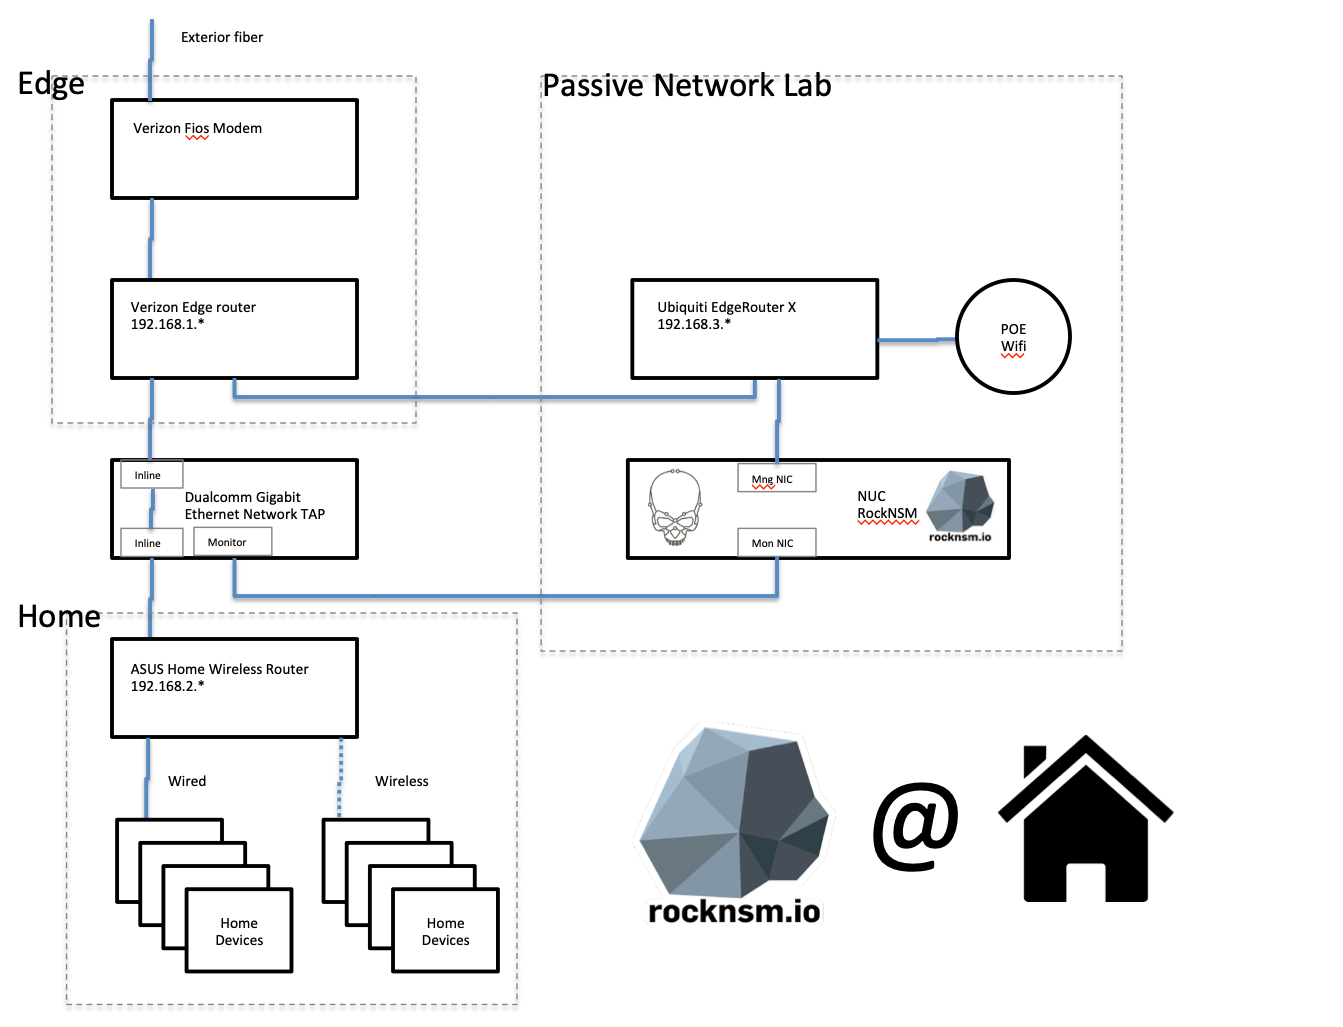
Network diagram of my passive tap
Making the lab educational and demo capable

ROCK is CentOS with a bunch of decisions made for you to speed time to messing with data. The screenshot is from a test VM on the 192.168.2. subnet
Because ROCK NSM installs as live booting Linux distro, installing is about as complex as installing the very basic Ubuntu or CentOS projects, which is something I was already familiar with. However, so that I could access the lab from anywhere in the house, I set up the management port of my NUC on a separate subnet fronted by an existing Ubiquiti network scrounged from a previous project. Because I have a Ubiquiti Wifi access point, I am able to switch Wifi networks anywhere in my home and ssh into the NUC or turn my browser to the running Kibana instance to check things out.
However, I like checking in (and showing off) the project when I’m away from home. Always be demo capable! So I modified the Logstash configs in rock’s /etc/logstsash/config.d directory to route the data stream securely to a cluster running securely in Elastic Cloud. As this will be public internet connected, having the zero-downtime automation to apply patches to my Elastic stack up in Elastic Cloud is going to save me alot of time if I’m going to keep this project going 24/7.
Logging into my Elastic Cloud instance and then pulling down a French newspaper and visualizing the network response located by Zeek/Bro
Virtualizing the sensor
As I won’t be actively hunting I’m not looking to do full packet capture, which is one of the ROCK bundled capabilities, and I no longer needed a local Elasticsearch or Kibana instances. I disabled those services and found that the load on my NUC was pretty minimal. So that I could use the hardware for other things at the same time as keeping ROCK up and running I partitioned the drive and installed Manjaro Linux and Oracle VirtualBox. I created a ROCK NSM VM and created two bridged virtual NICs to get a direct mapping to each of the NICs on the NUC and limited the VM to 8 GB of RAM and 2 virtual CPUs. The important thing is to make the monitor (tap-facing) virtual NIC set up in VirtualBox for promiscuous mode. I can now do other things with all the RAM and processing power of the NUC, reducing my urge to buy another NUC and fill up my home with more “always on” hardware.
The downsides of my setup
Because my network tap setup between two fully router created subnets, something called its vantage point, ROCK can’t actually tell which device on the Asus home wireless router is the origin of traffic to the internet. I’m not impressed by the required router that came from my ISP, so I’ll have to pick something else up and switch the Asus into access point mode to distinguish the traffic on my home. I see playing with pfSense in my future.
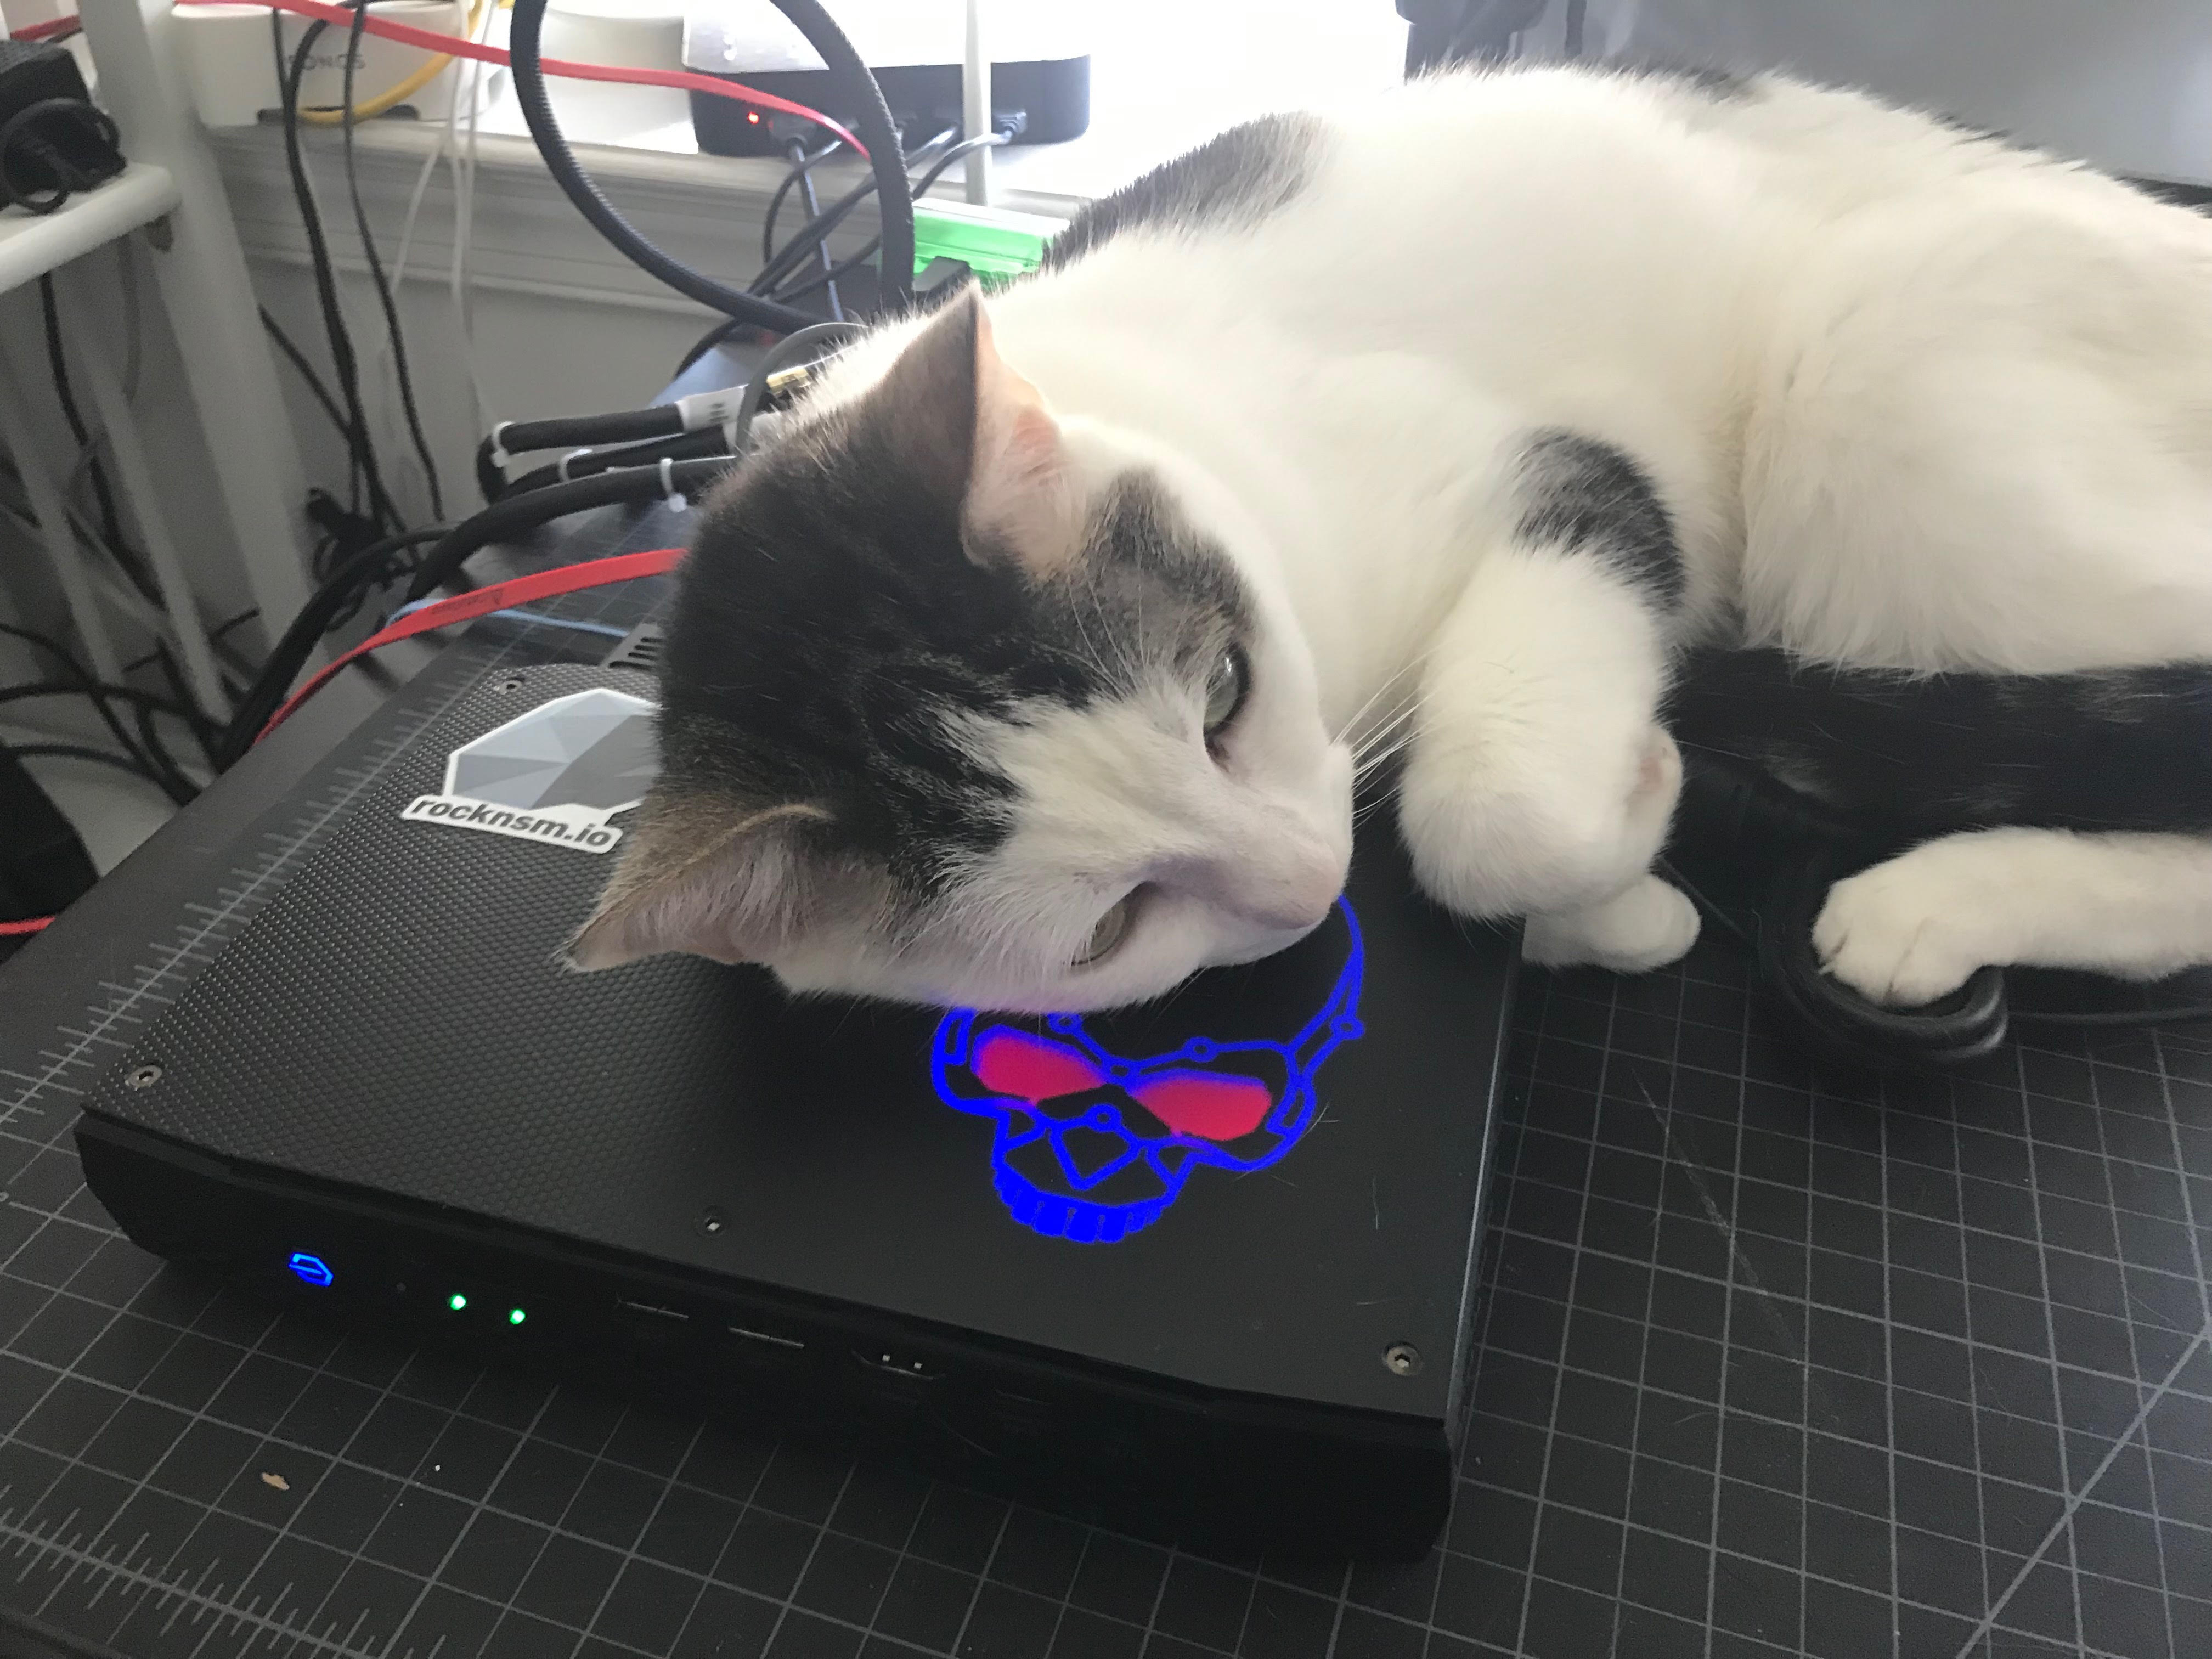
My cat approves of running a small server at home
Future Work
- Get a better edge router and convert the current Asus router into a pure access-point.
- Modify all the ROCK NSM collection into Elastic Common Schema
- Create additional visualizations to aid understanding of the network topology of my home.